You know, I hear a lot of friends say they’re really not into baking because it’s so much work. There’s an actual “science” to it and they have never been any good at it. I get it. But baking isn’t always about reinventing the wheel. I felt the same way when I started. I thought everything that could possibly be done already has been and I would get discouraged.
I guess I can compare it to music. Sure, every note has already been played before but it’s in the arrangement of notes that make a song unique. That’s how I see baking. It doesn’t have to be difficult. It just has to be creative and fun and you have to invent a way to make it your own.
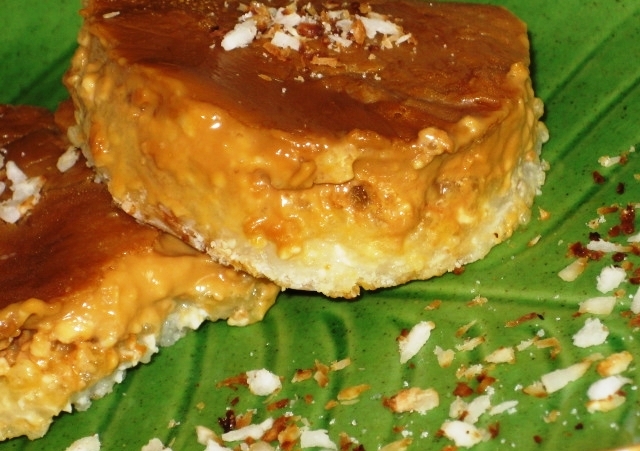
Take this recipe for example. My niece was selling fundraising chocolates and of course, being family, I had to buy a good load of them! This sounds familiar, right? Well, I was looking around to find something to bake and noticed I still had some baked goods left over. (You see what I’m getting at?). Tadah! Cheesecake, crushed pistachios, fundraising chocolates, graham crackers…hmmm..I’ve got it! How about “Chocolate Covered Cheesecake Balls topped with Pistachios”?
So, there you go. A new recipe is born and I didn’t even have to pop anything in the oven. It’s that simple, really. Try it out! Let me know how you like it.
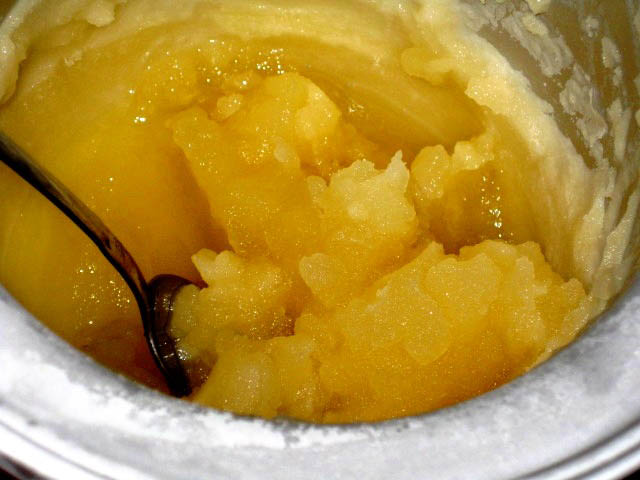
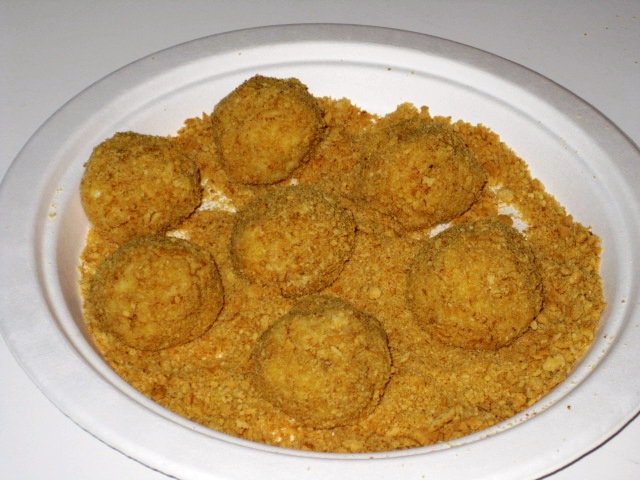
Start with allowing your leftover cheesecake to set at room temperature. Once that’s done, take a cup of graham cracker crust and place them in a bowl or wide plate. Take a spoonful of cheesecake and drop them into the plate. Roll it around and get enough crust on them to make into even-sized balls. Once you’re done transfer the balls onto another plate lined with parchment paper and put in freezer until it sets. While the balls are setting, take your fundraising chocolate (mine were a variety of bars — almond, wafer krisp, caramel) and break into small pieces. Please in microwaveable bowl. Put in microwave for 2 minutes on 50% power. Check and stir to make sure the consistency is melted enough to drizzle/coat. Take the cheesecake balls out of the freezer and immediately top the balls with melted chocolate.
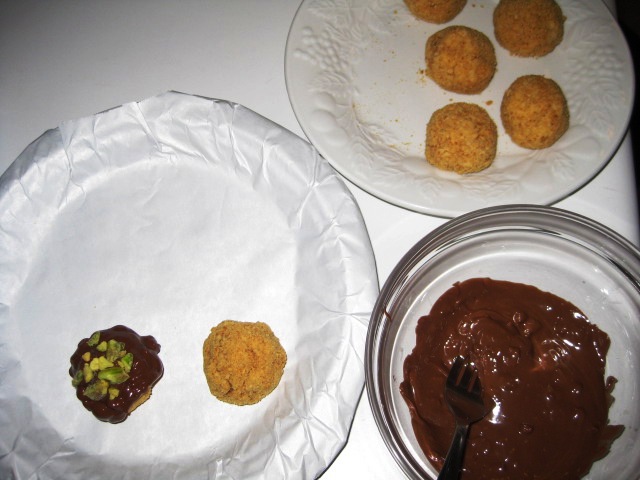
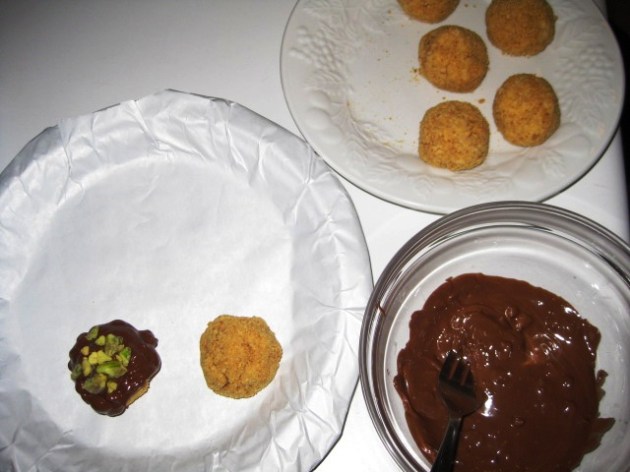 Once you coat the ball with chocolate, top with crushed pistachios right away before the chocolate sets and hardens. Continue this process until all the balls are done. I decided to use small baking cups to put each ball in so they look like truffles. Aren’t they pretty? Place the balls back in fridge and serve when ready.
 Now, don’t they look yummers? I used almond bars with this recipe but, of course, you can get as creative as you want with this depending on what chocolates you have around. Experimentation is the fun part. I always say that baking courage begins with making a mess. If you don’t get chocolate on you then you’re not doing it right. Haha.